
Here is how you can play Diablo IV on Steam Deck, including a guide for installing Battle.net on SteamOS.
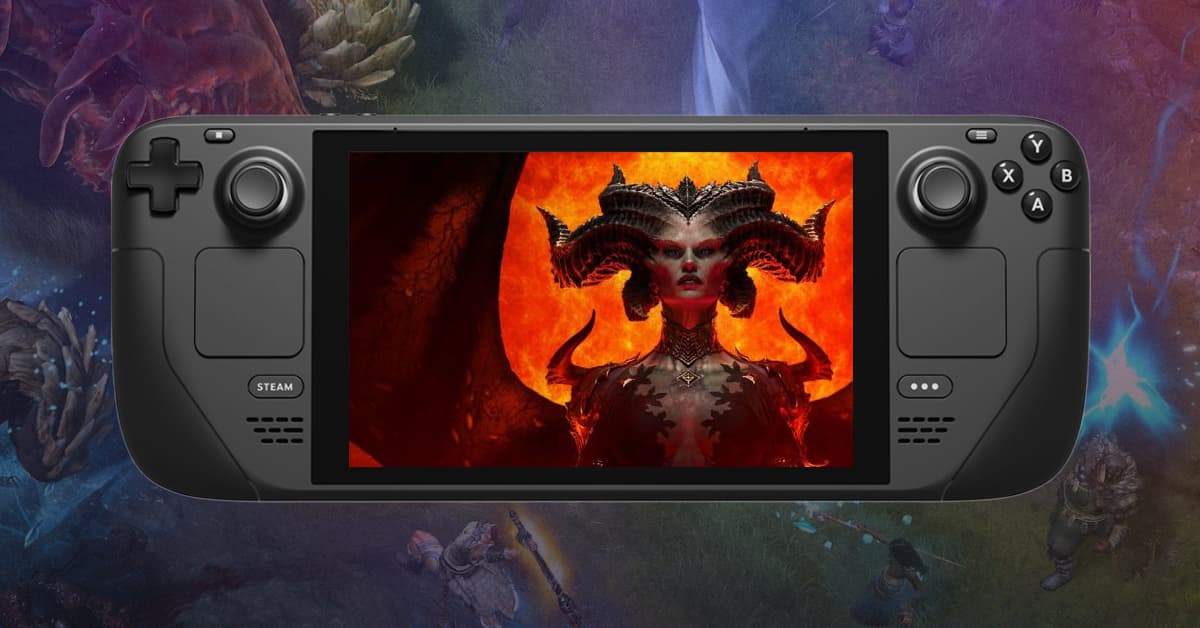
Yup, the next Diablo game is out now. We can now return to Sanctuary thanks to the release of Diablo IV (or Diablo 4 if you prefer).
Of course if you preordered the Ultimate Edition or Digital Deluxe Edition you've already been busy playing the game (starting June 2nd).
But can you play Diablo IV on Steam Deck?
From the closed and open beta experiences back in March, we know the answer to be "yes", though the process is a bit involved — because although Diablo IV only officially supports Windows, thanks to the magic of Proton, we can make it run on Steam Deck.
First, we need to install the Battle.net launcher on SteamOS. For this process, I suggest you hook up a mouse and keyboard to your Steam Deck, or alternatively install Steam Link on your PC and use it to remotely connect to your Deck.
So, on to getting things working on your Steam Deck...
How to install Battle.net on Steam Deck and SteamOS
If you prefer following a video instead of a written guide, here is an alternative way (our guide below is different, but no option is better per se) to install Diablo IV on your Steam Deck, thanks to our friend Bill from NerdNest:
- On your Steam Deck, go to desktop mode. Click the
Steam button, go down toPower, and thenSwitch to Desktop. Wait for your Deck to reboot. - Next, open up the browser of your choice, go to the Blizzard download page (or just search for it on Google), and download the Windows installer.
- Next, we need to add the downloaded
.exefile to Steam. Open updesktop Steam, go toLibrary, and at the bottom left corner, click on the plus sign, thenAdd a Non-Steam Game.... Navigate to your downloads folder by clicking onBrowse, and then go tohome/deck/Downloadsand add the Battle.net installer file to Steam. Don't forget to showAll FilesunderFile type:if you can't find the installer. - Now, navigate to the newly added entry in your Steam Library. It should be called something along the lines of
Battle.net-Setup.exe. Don't launch it yet, but instead click on thecog wheel icon, thenProperties...and underCompatibility, toggle theForce the use of a specific Steam Play compatibility tooloption. During the beta, it was important to choose GE-Proton 7.51 or Proton Experimental. Follow our guide here to learn how to install GE-Proton. But it seems, it now works without pre-selecting a compatibility layer. - Now hit
Playto launch the installer, follow the different steps, and wait until it's done. When the installation process is done, you can remove theBattle.net-Setup.exefrom Steam again. Right-click it, go toManage, thenRemove non-Steam game from your library. - Next, we want to add the installed launcher to Steam. In Desktop Steam, go to
Library, and at the bottom left corner, click on the plus sign, thenAdd a Non-Steam Game.... Now we need to look for the file. Click onBrowseand navigate to the following folder by going through the folder structure:home/deck/.local/share/Steam/steamapps/compatdata/. Don't forget to showAll FilesunderFile type:if you can't find the installer. - Here you need to search for the latest added folder under
DATE MODIFIED. It should be a 10-character long number. Open it, and go to the following folder:pfx/drive_c/Program Files (x86)/Battle.net. Here select theBattle.net Launcher.exefile. Add this one to Steam. If you can't see it, be sure you haveAll Filesselected underFile type:. - Don't launch it yet, but instead click on the
cog wheel icon, thenProperties...and underCompatibility, toggle theForce the use of a specific Steam Play compatibility tooloption, like we did in step four. - Phew! We're finally done. Launch Battle.net now. If you want to customize the artwork, I propose you check out the following guide, but don't forget to rename the non-Steam game we've added.
If you want to install games on the microSD instead of internally, we need to do one more thing, so stay on the SteamOS Desktop.
How to install Battle.net games on the Steam Deck microSD card
- Go to the launcher we've just added in the guide above, click on the
cog wheel icon, thenProperties...and add the following underLAUNCH OPTIONS:STEAM_COMPAT_MOUNTS=/run/media/mmcblk0p1/ %command% - Next, open up
Dolphin, which is your file explorer and navigate to your microSD card. Here, you can now create a folder for your Battle.net games. - Now, when you launch Battle.net and plan to install a game, don't forget to change the
Install Locationthat Battle.net proposes. There will be several drive letters, just look for the one with the newly created folder. In my case, it was driveE:. Now install all the games you want.
Ok, we've got everything up and running — now it's time to install Diablo IV for a little bit of portable action from lauds to vespers.
How to install and run Diablo IV on Steam Deck
- If you followed the Battle.net guide above, you now need to start the Battle.net app, and navigate to the Diablo IV install page.
- Download the game, and don't forget to change your path if you want to install it on microSD card.
- While queueing, touch the D-Pad for the game to recognize the Steam Deck‘s controller.
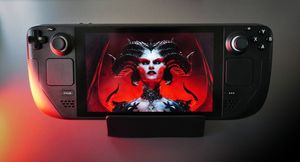
That's it. We have Diablo IV running on the Steam Deck. Enjoy the game!
Also here's how the game runs on Steam Deck: