

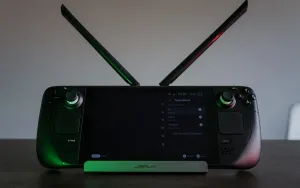
Thanks to TunnelDeck, a new Decky plugin, there is now an effortless way to use a VPN service on Steam Deck. We'll show you how.
Thanks to a recently released plugin (on which we collaborated with developer Stephen Radford), there is now a very easy way to use a VPN service on the Steam Deck: TunnelDeck — and because it's a plugin for Decky Loader, it will even work when in gaming mode.
How to install TunnelDeck
There are tons of VPN services on the market, but you need one that lets you download an OpenVPN file (ending in .opvn) or find a WireGuard configuration. We used ProtonVPN, which has a free tier but can be subscribed to for $9.99 per month (they are currently running a sale). Create an account, and download a .ovpn file or a WireGuard file here. A paid alternative would be Mullvad.
Now to TunnelDeck:
- First, you need to install Decky Loader following our guide.
- Now, in gaming mode, open up the Plugin loader by pressing the
menu button(that's the one on the right side with the three dots (•••)). At the bottom, you will find the loader. You'll access the plugin store by clicking on the shopping bag icon, and search forTunnelDeck. - After installation, start
TunnelDeckonce and toggle the option to installOpenVPNif you're using OpenVPN. This is not needed for WireGuard.l - Next, we need to switch to
Desktop Modeto install the downloaded configuration file. Click theSteam button, go down toPower, and thenSwitch to Desktop. Wait for the Deck to reboot. - Back in the
desktop mode, click on themenu button, and open upSystem Settings. - Navigate to
Network > Connections. Tap the+, and either tap onWireGuardorImport VPN connection..., then create. We import a VPN connection for our tutorial, as nearly no typing is required. - Pick your file, then add it. Now on the side, you'll see an empty
UsernameandPasswordfield. You can find both of these things in your account tab. Save again. Also, change the dropdown below your password toStore password for all users.
We're done, now you can boot back into Gaming mode. But before we start our VPN connection, we have to do one more thing: switch to offline mode. Click the Steam button, go to Settings > Internet and hit the big Enter Offline Mode button.
If you prefer to see the tutorial as a video, Steve — the developer behind the plugin — has you covered:
How to run Xbox Cloud Streaming in unsupported countries
The best use case for this (and the reason I personally use this plugin) is to enable Xbox Cloud Gaming in unsupported countries.
Game Pass subscribers can now play a ton of games via Xbox's cloud streaming beta service, however, this isn't open to everyone worldwide.
At the time of writing, the Xbox Cloud Gaming beta is unavailable, as outlined here by Microsoft, in around 20 countries/regions worldwide — including China, Russia, India, and South Africa.
But worry not, as here we share how to get around it and play Xbox Cloud Gaming in countries where it currently isn't an option.
If you added Xbox Cloud Streaming to your Steam Deck following the official guide, you might see the following error message if you live in an unsupported country:
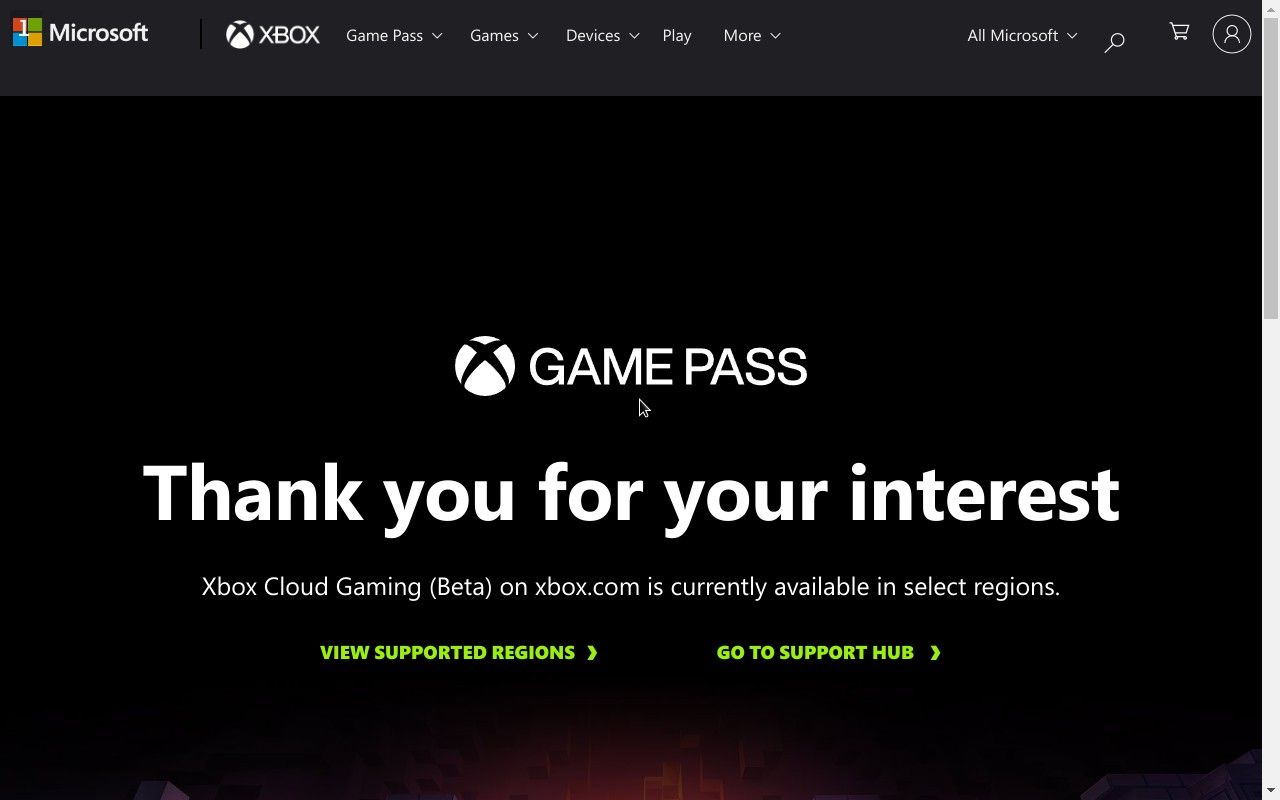
To circumvent that error, all it needs is to set your VPN service to a supported country: We went with the U.S. but also tested the Netherlands successfully, all while living in Luxembourg, where Xbox Cloud Gaming, for whatever reason, is not available.
Here's what you need to do.
- Install TunnelDeck as explained above.
- When back in Gaming Mode, click the three dots (•••) button. Open up
Decky Loaderat the bottom of the list, and here go toTunnelDeck. - Enable a VPN connection for a supported country.
- Enable the toggle for
Disable IPv6if your VPN provider doesn't support it. ProtonVPN, which we recommended above, does not, for example. This is a crucial step, otherwise, Xbox Cloud Gaming won't work regardless. - Close
TunnelDeckagain by hitting the three dots (•••) button. - Now, open up the Xbox Cloud Gaming app you installed following the official guide.
- When you are logged in and can see the game library, start a game. You can now turn off the VPN connection through
TunnelDeckagain and still play the game.
..and that's it.
Using this method, you can get Xbox Cloud Gaming up and running no matter which country you live in and even on your Steam Deck. Happy gaming!
⚠️ A little, although important, side note: Using Steam with a VPN service is officially against Valve's Terms of Services. While the risk of getting your account banned is low, it is not zero.
We strongly advise against buying any game while the VPN service is running. Switching to Offline Mode is also recommended. We cannot be held responsible for a banned account.