

Here are two different ways (rsync and Clonezilla) to backup the data on your Steam Deck.
If you spend as much time trying out things and tinkering with your Steam Deck as we do, you might run into the occasional problem and sooner or later find yourself needing to restore your whole system. While the Linux-powered SteamOS proposes several ways to repair your system, some will lose your data. Or maybe you installed a new SSD into your Steam Deck and want to move files over from your old one.
For these cases, and generally, for proper usage, you want to back up your Steam Deck. Since it's running Linux, backing it up is pretty easy, and several methods exist for different needs. We'll show you two ways today.
Before we start, grab a large external drive, like our go-to SSD (at the time of writing, the 1TB option is on sale). An obvious point to make, perhaps, but if you want to back up the whole system, it needs to be at least as big as the internal drive of your Steam Deck.
Two ways to backup your Steam Deck
Backing up your Steam Deck data using rsync
Using rysnc to back up your Steam Deck is probably the quickest way, but you will need to use the terminal. But don't worry; you only need to copy a few lines to make it run.
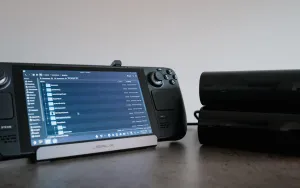
Before we start, we need to prepare an external hard drive for the process — we used the drive integrated in our JSAUX M.2 dock.
- On your Steam Deck, go to desktop mode. Click the
Steam button, go down toPower, and thenSwitch to Desktop. Wait for the Deck to reboot. - In the
desktop mode, click on themenu buttonand open upKDE Partition Manager. Hook up your external drive, and find it in the sidebar. - In our case, the drive was visible as
/dev/sda. Here, click on the partition and delete it. If this doesn't seem to work, because the Mount Point has a lock, right-click and unmount the drive first. - Next, click on
New Partition Table, chooseGPTand save. - Click on the partition, then
Newand underFile system, chooseext4and give it a label, we called oursjsaux. Save, and then finally hitApply. - Now, click on the menu button again, and open up
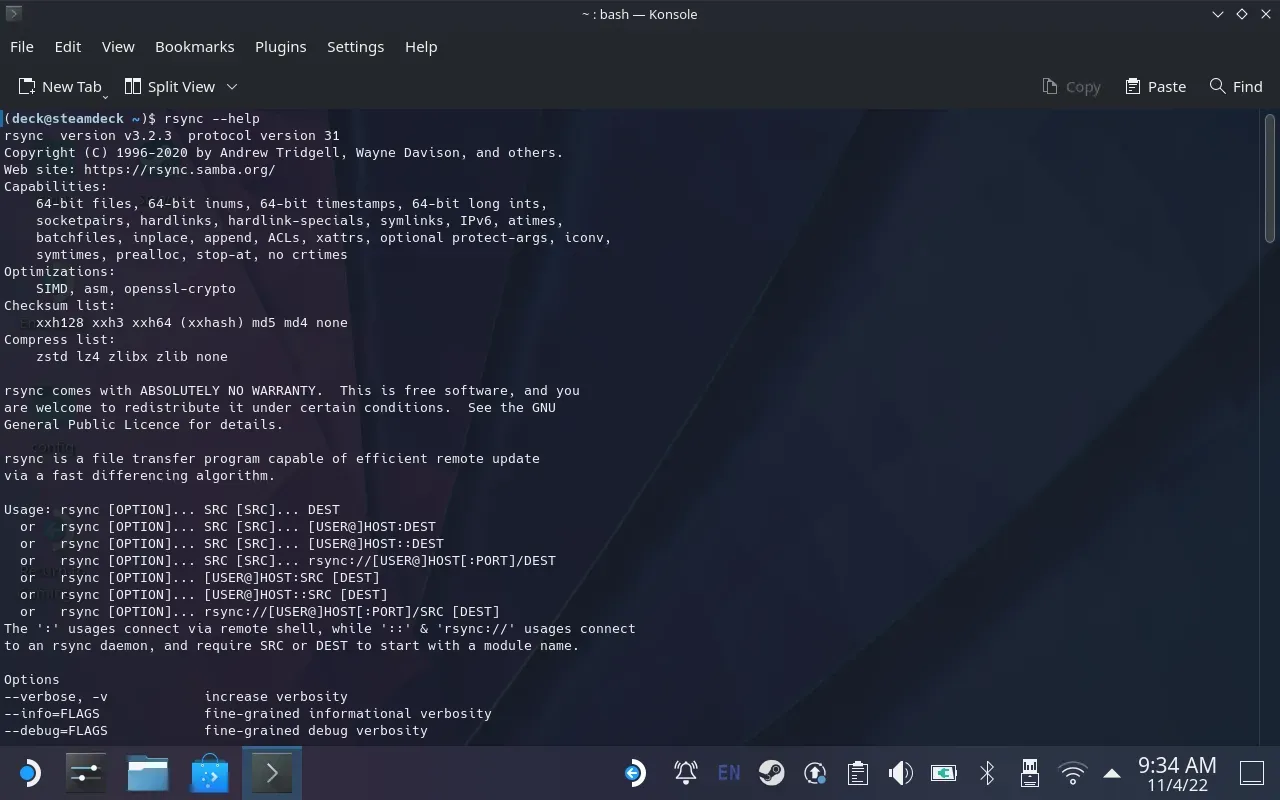
Konsole. Here, typesudo chown deck /run/media/deck/jsauxand hit enter. Replacejsauxwith the name you gave your drive, of course.
Now, you should have prepared your drive and mounted it accordingly. We created a folder in the drive's location called backup. Time to back up!
- If you've closed the terminal, open up
Konsoleagain. Next, we want to back up thehomefolder, as everything you need should live here. - Now, type
sudo rsync -aAXv /home/deck /run/media/deck/jsaux/backup. Replacejsaux/backupwith the path to your drive and folder. Hit enter and let it run.
To restore your system, you have to reverse the source and destination folders: sudo rsync -aAXv /run/media/deck/jsaux/backup/deck /home/deck.
(With the -aAXv option, files are transferred in archive mode to ensure that symbolic links, permissions, devices, ownerships, modification times, extended attributes, and ACLs are preserved.)
As rsync is an incremental file-copying tool, it will only check data that has not yet been copied. So, it's an excellent tool for synchronizing folders. You could, for example, use it to create a synchronized cloud backup with a cloud storage service like Backblaze B2, which is one of our favourite services.
Clone your Steam Deck using Clonezilla
Another option that does not use the Terminal is Clonezilla, though, for this method, you have to create a bootable drive running Clonezilla and boot into it. Again, not difficult but still reasonably involved. However, this is also the option we recommend when you can't even boot up SteamOS.
Also, for this method, you will need an external keyboard and a docking station.
Here are the steps:
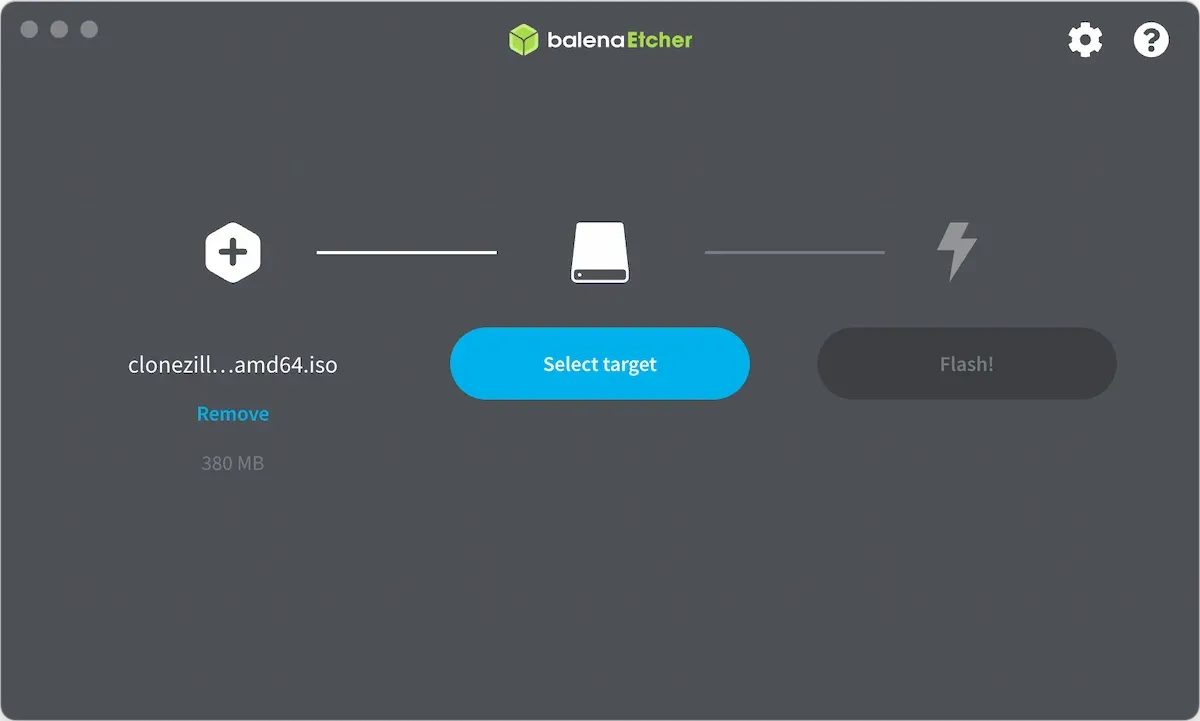
- First, download the CloneZilla ISO File from here. Choose the stable image and, in the next step, the ISO file.
- Next, get Balena Etcher tool. Start it up. Choose the downloaded ISO file, choose the USB drive (remember, it will delete everything on the drive), and hit
Flash!. Wait for it to finish. - Shut down your Steam Deck. Click the
Steam button, go down toPower, and thenShutdown. If it's frozen, hold thePower buttonuntil the Deck is off. - Connect your newly created USB boot drive.
- With the Deck turned off, hold down the
Volume Down buttonand click thePower button. When you hear the chime, let go of theVolume Down button. Be sure your - You're now in the
Boot manager. Here, choose the boot drive.
Now, we've booted into the CloneZilla live environment. To continue, you want to use the D-Pad and the ABXY buttons and, for a while, turn your Steam Deck sideways.
- On the Boot screen, press the
A buttonto get started with the default settings. - Next, pick your language.
- In the next window, called
Configure Console-DatachooseDon't touch keymap. - Now you'll see the
Start Clonezillawindow, and usually, the Steam Deck screen should be in the correct orientation again. Pick the first optionStart_CloneZilla Start CloneZilla. - In the next screen, you will have several options to choose from. For this guide, we want to copy files to another drive, so we choose
device-imageand in the next steplocal_dev.
Now we will get to the actual cloning process.
- Plug in the destination drive. CloneZilla should be able to recognize newly connected drives. It has to be at least the same size or bigger than your source drive. Smaller ones won't work.
- In the next window, check if you see your drive. This is also the step where you need a keyboard to hit
CTRL-Cto skip the window. - Now, choose the destination drive. For us, it was
sda1. - In the next step, you can check your filesystem. We'll skip this in this guide, but you can still choose to do so.
- Here, you can pick where you want to save the cloned image. If you want it in the root directory, pick
Done. - Pick
Beginnerin the following screen, and thensavediskfor the backup option. In the following step, pick a name or keep the default one. - Next, decide what disk you want to clone. Here you might see your microSD card so choose the correct one. In our case, it was
nvme0n1. - Pick the default option for the compression method.
- Now, you're asked to check your filesystem for the source drive. We skip this again, but you can still do so.
- For the next check, however, we chose yes. This step checks if the image is restorable.
- And one more step, we choose to ignore it as we don't want to encrypt the image.
- Next, pick if you want to reboot your device after clowning or turn it off. We chose
reboot. - CloneZilla will ask now ask for permission to clone the drive. Hit
Yon your keyboard and thenEnter. - If all went according to plan, you should see the backup process running now. This will take a while. It took us around two hours to clone a 512 GB drive to an SSD connected via USB-C.
- When done, your device will either reboot or shut down, as chosen in step 12.
Restoring your device follows the same steps (steps 1-6 in the second part) when cloning the device, but instead of savedisk, you choose restoredisk when asked.
That's it. Two methods to back up your Steam Deck. No more excuses if you lose your files!
But if you are still unsure which one to choose: we recommend the rsync method to back up your files in general and restore if you can boot into SteamOS (after restoring, for example). We recommend the CloneZilla method if your SteamOS installation is completely borked.
If this was helpful, why not give us a follow on Twitter?